Every attempt counts.
Save an Update with a result, a photo or a question. Keep it private or share it with the community.
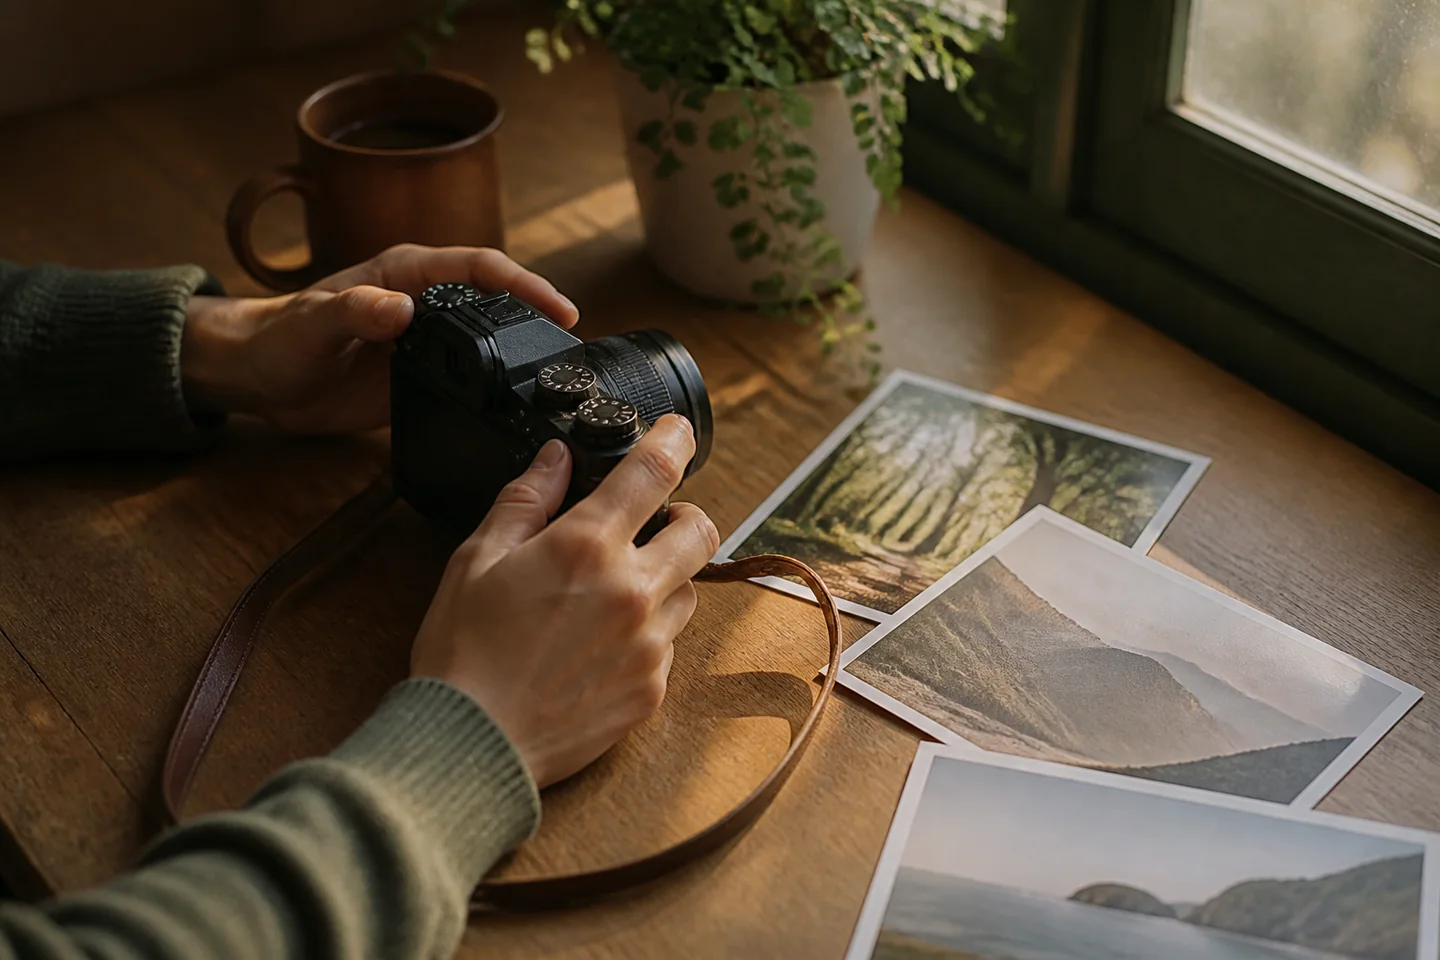
Notice the light. Make an everyday moment yours.
Equipment: Phone or camera · an everyday object
Photography starts with choosing what to show. Try three views of one object, then explore light and framing before making a small photo story.
You need: A phone or camera you already have, an empty mug and a table near a window. No new equipment or paid app needed.
Before you start: Wipe the lens, turn off the flash and use automatic settings. Choose a stable table with space to move the mug. Check the background for private details before taking or sharing a photo.
You've done enough when: Three different views, one favourite and a sentence explaining your choice.
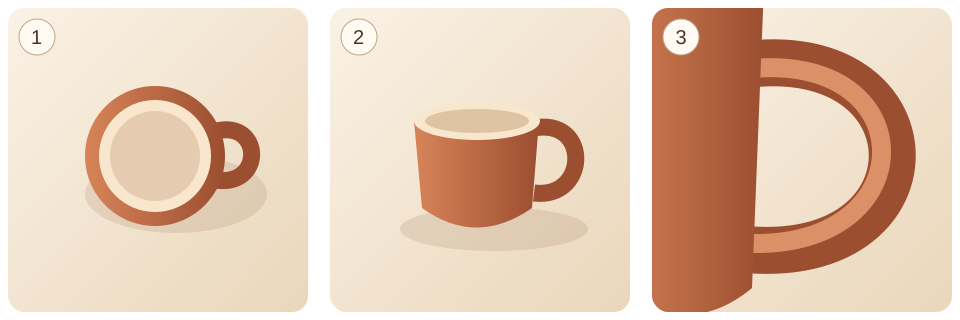
If the photo is blurry, wipe the lens, hold the phone with both hands and tap the mug to focus. If the mug looks too dark, turn it so the window lights it from the side. You can work seated; move the mug instead of yourself.
Try it before signing up. Create an account when you want to save progress or an update.
Save an Update when you have something you want to remember. Choose “Just my progress” to keep it private or “Also share it” to share publicly. Marking an activity done does not publish anything.
Save an Update →Repeat any exercise as often as you like. These are sessions, not consecutive days, and a useful comparison counts more than a perfect picture.
This is the three-view mug exercise above. You can try it before signing up: review the instructions.
Your result: Three different views, one favourite and a sentence explaining your choice.
Look for a shadow, a repeated shape and a patch of light. Aim for 20 photos while exploring nearby, or use details around your home. Choose one image and write what caught your eye. Fewer photos are fine if your session is shorter.
Your result: One chosen photo and a note about its light or shape.
You need: Your phone or camera; a familiar route, window view or room.
If nothing stands out, stop in one safe place and look for the brightest and darkest areas. Frame just one of them.
Choose a simple subject such as a book on a table. Take a wide picture showing its surroundings, a closer picture of the subject and a detail such as a page corner. Put the three images side by side or swipe between them in order.
Your result: Three pictures that show context, subject and detail.
You need: An everyday object or quiet activity and your phone or camera.
If all three look alike, make the wide view wider and the detail closer. Move only as close as your camera can still focus.
Look at three photographs in a book, gallery or the composition resource below. Name one feature in each: light, colour or framing. Choose one feature and try it with an object of your own. Keep your own picture and note the inspiration.
Your result: An original photo made with one intentional choice.
You need: Three photographs you enjoy and your phone or camera.
Start with the position of the subject. You do not need to recreate a location, buy equipment or upload someone else's photograph.
Photograph the mug with the window to its side. Move it farther from the window and take a second photo from a similar angle. Compare the shadows and visible detail. Return to the setup you prefer and try one more frame.
Your result: A pair of photos and one observation about the shadows.
You need: A mug, a window and your phone or camera.
If the difference is hard to see, turn the mug a quarter turn. Avoid changing filters or camera settings at the same time.
Compare an early photo with a recent one. Write one thing you now notice and one thing you would try differently. Save the note privately or share your own picture with a specific question about framing or light.
Your result: A short reflection that names a choice you made.
You need: The photos you have taken so far.
Finish this sentence: I chose this frame because ___. A simple observation is enough; publishing is optional.
Choose one subject you enjoyed. Take another photo using a choice from your reflection, such as a lower angle or a clearer background. Compare it with your earlier frame and keep your favourite. Choose a ten-minute slot to return to this subject, with one new thing to explore. A larger project is optional.
Your result: A new photo, a comparison with your earlier frame and one experiment to return to.
You need: Your phone or camera, an earlier photo and its subject.
If the subject is no longer available, use an object within reach and try the same framing idea.
Want a larger goal? A project keeps its steps and updates together. You can also keep practising and sharing updates directly from this hobby.
A possible sequence: window light, an empty mug, a spoon, breakfast and the table afterwards. These are five subjects to try, not a required result. The set can stay on your phone.
When you share: Show your favourite frame and explain what made you choose it. If you want feedback, ask about one thing, such as the background or the angle.
Start the Project →For anyone curious about light, everyday details and telling stories in pictures. You can start indoors, on your own and seated at a table.
Practise framing, noticing light and choosing a photo for a reason. Automatic camera settings are enough for these exercises.
A phone or camera you already have, an empty mug and a table near a window. No new equipment or paid app needed.
€0 with a phone or camera you already own.
Choose one object each week and photograph it in two different kinds of light. Keep the pair and a sentence about what changed. Or try the Optional Project: a five-photo story.
Save an Update →Use the phone or camera you already have. Finish several sessions before deciding whether equipment would solve a specific problem. You do not need to buy anything for the first activity.
Use objects, shadows and textures at home. For the neighbourhood exercise, explore a view from a window or details in one room. You can move objects on a table and work seated.
Neither is required. Start with the camera's automatic settings and compare your original pictures. You can mark an activity done without uploading, or save an Update with its audience set to private.
Ordinary subjects are the point. Compare two frames and name one difference: a clearer outline, less clutter or a softer shadow. That observation is progress, even if you do not like the whole picture yet.
Use your own objects for the first exercise. Before sharing, check for faces, addresses, documents or reflections you did not mean to include. Ask people before photographing or sharing identifiable pictures of them. Stay in safe, permitted places and never step into a road for a shot.
Optional reading after you have tried the exercise.
See how framing and the position of your subject change an image. The exercises here do not require Adobe software.
Try an off-centre subject, then compare it with a centred version. This is an option to explore, not a rule every photo must obey.
Written by Hobbify · Reviewed 28 September 2026 · Suggest a correction
Show your favourite frame and explain what made you choose it. If you want feedback, ask about one thing, such as the background or the angle.
Save an Update with a result, a photo or a question. Keep it private or share it with the community.
Explore Photography Updates and Projects, then choose something you want to try next.